
[VIDEO] Give your website some life by animating with ChatGPT!


In this one I create a quick animated graphic to show off the finished product for a case study! You can find the materials used and final code here!
Graphics
These are here to give you an idea of how I set up ChatGPT to give me a usable asset after the first prompt!

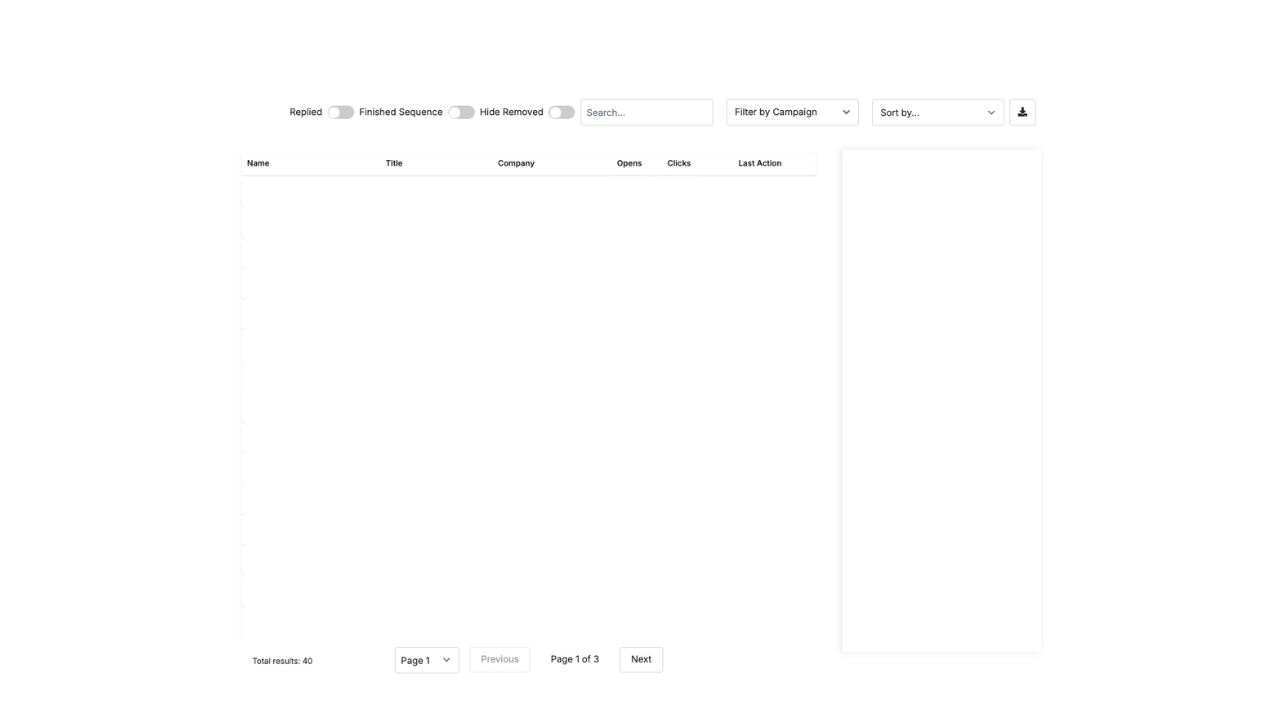
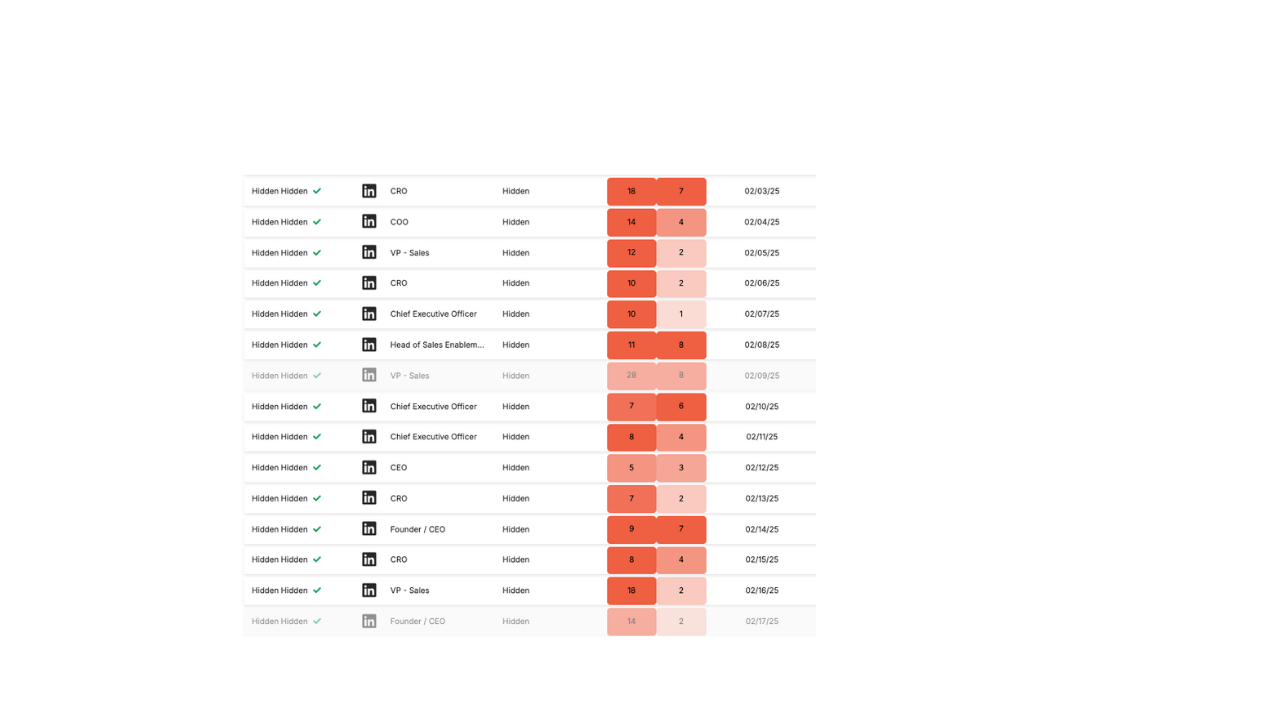
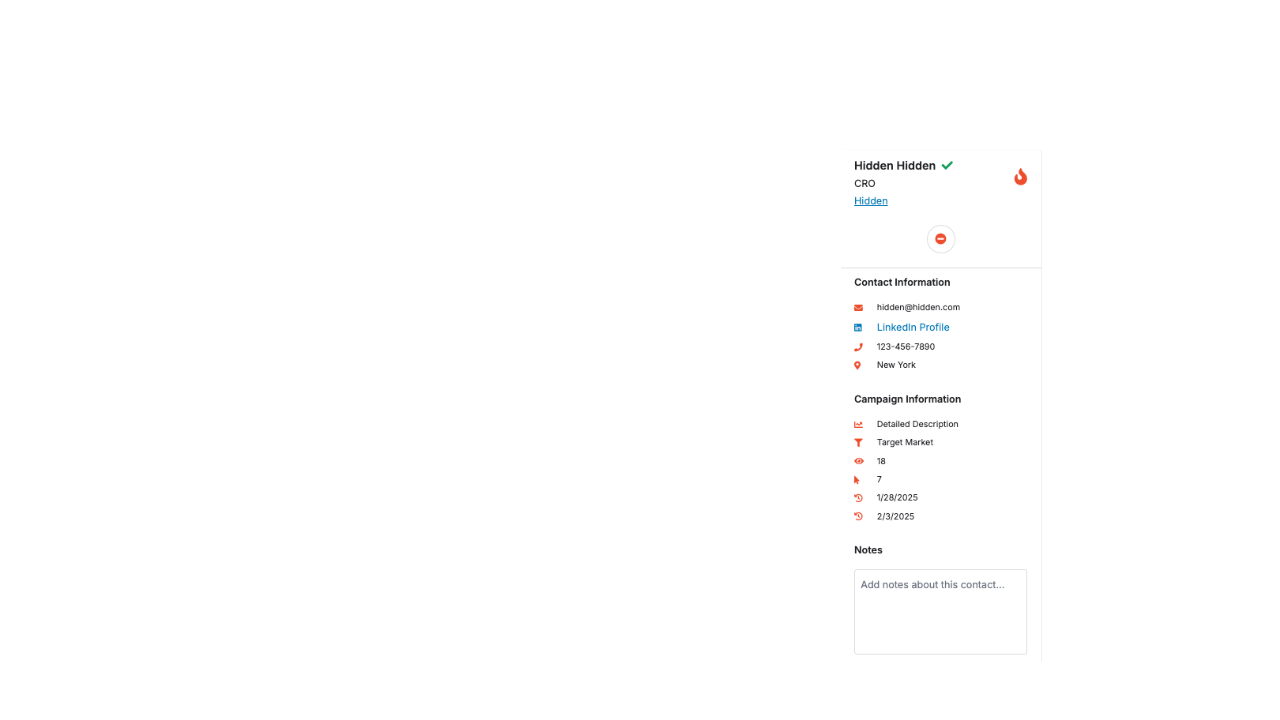
The key here is keeping the same dimensions in each image. I recommend creating the final product and then duplicating and working backwards to isolate each image, isolating each asset perfectly in place!
Code Snippet
<!-- Keep the same HTML as before (all 4 are <img>) -->
<div class="layer-stack">
  <img src="https://images.squarespace-cdn.com/content/60da489f6ede6e15f72635b5/25a36519-0a11-4902-b2d0-7d351f57f4c2/7.png?content-type=image%2Fpng"  alt="Layer 1" class="layer l1">
  <img src="https://images.squarespace-cdn.com/content/60da489f6ede6e15f72635b5/d786fb82-3bf6-4f0c-b186-44f875a3cb74/8.png?content-type=image%2Fpng"  alt="Layer 2" class="layer l2">
  <img src="https://images.squarespace-cdn.com/content/60da489f6ede6e15f72635b5/679e870d-fda8-4a0b-b71b-3359381cfc33/9.png?content-type=image%2Fpng"  alt="Layer 3" class="layer l3">
  <img src="https://images.squarespace-cdn.com/content/60da489f6ede6e15f72635b5/ac94c440-f2a3-4941-b081-285c57364136/10.png?content-type=image%2Fpng" alt="Layer 4" class="layer l4">
</div>

<style>
.layer-stack{
  --maxW: 720px;
  --stagger: .6s;    /* your default */
  --dur: .7s;
  --easing: cubic-bezier(.22,.8,.26,1);
  --rise: 18px;
  --startScale: .985;
  --rows: 14;        /* number of horizontal slices for L3 */
  --rowsDur: 1.4s;   /* total reveal time for L3 */
  width: min(92vw, var(--maxW));
  margin: 24px auto;
  display: grid;
  place-items: start center;
}

.layer{
  grid-area: 1 / 1;
  width: 100%; height: auto;
  opacity: 0; z-index: 0;
  transform: translateY(var(--rise)) scale(var(--startScale));
  filter: blur(4px);
  animation: layerIn var(--dur) var(--easing) both;
}
.l1{ animation-delay: calc(var(--stagger) * 0); z-index: 1; }
.l2{ animation-delay: calc(var(--stagger) * 1); z-index: 2; }
.l3{ animation-delay: calc(var(--stagger) * 2); z-index: 3; }
.l4{ animation-delay: calc(var(--stagger) * 3); z-index: 4; }

@keyframes layerIn{
  0%{ opacity:0; transform: translateY(var(--rise)) scale(var(--startScale)); filter: blur(4px); }
  60%{ opacity:1; }
  100%{ opacity:1; transform: translateY(0) scale(1); filter: blur(0); }
}

/* optional: add a rows easing var at the top with your other vars */
.layer-stack{
  --rowsDur: 1.4s;                 /* total reveal time */
  --rowsEase: cubic-bezier(.25,.8,.25,1); /* smooth scan */
}

/* Top → bottom reveal for Layer 3 using polygon clip */
.l3{
  /* start with the bottom edge at the top (0%) so nothing shows */
  clip-path: polygon(0 0, 100% 0, 100% 0, 0 0);
  -webkit-clip-path: polygon(0 0, 100% 0, 100% 0, 0 0);

  /* run base fade/settle + the scan together */
  animation:
    layerIn var(--dur) var(--easing) both,
    l3Scan var(--rowsDur) var(--rowsEase) both;

  animation-delay:
    calc(var(--stagger) * 2),
    calc(var(--stagger) * 2);
}

@keyframes l3Scan{
  /* grow the bottom edge from 0% to 100% → reveals downward */
  to {
    clip-path: polygon(0 0, 100% 0, 100% 100%, 0 100%);
    -webkit-clip-path: polygon(0 0, 100% 0, 100% 100%, 0 100%);
  }
}


@keyframes rowsClipSmooth{
  from { clip-path: inset(0 0 100% 0); }
  to   { clip-path: inset(0 0   0% 0); }
}

/* Smooth scan from top → bottom */
@keyframes rowsClipSmooth{
  from { clip-path: inset(100% 0 0 0); }  /* fully hidden */
  to   { clip-path: inset(0 0 0 0); }     /* fully shown */
}

/* New keyframes for the row-by-row reveal */
@keyframes rowsClip{
  to { clip-path: inset(0 0 0 0); }
}

@keyframes rowsReveal{
  to{
    -webkit-mask-size: 100% 100%;
            mask-size: 100% 100%;
  }
}

/* Reduced motion */
@media (prefers-reduced-motion: reduce){
  .layer{ animation:none; opacity:1; transform:none; filter:none; }
  .l3{ -webkit-mask:none; mask:none; }
}
/* Make the stack follow the Code Block width */
.layer-stack{
  --maxW: 1200px;           /* optional ceiling */
  width: 100%;              /* fill the parent (Code Block) */
  max-width: var(--maxW);   /* cap if you want */
  margin: 0 auto;           /* center within the block */

  /* keep your other vars as-is */
  --stagger: .6s;
  --dur: .7s;
  --easing: cubic-bezier(.22,.8,.26,1);
  --rise: 18px;
  --startScale: .985;
  --rows: 14;
  --rowsDur: 1.4s;
  --rowsEase: cubic-bezier(.25,.8,.25,1);

  display: grid;
  place-items: start center;
}

/* Ensure images truly scale to the parent */
.layer-stack .layer{
  width: 100%;
  max-width: 100%;
  height: auto;
  display: block;           /* kill inline-gap issues */
}

/* Optional: scope specifically to Squarespace Code Blocks */
.sqs-block-code .sqs-block-content .layer-stack{
  width: 100%;
  max-width: 100%;          /* let the block’s width rule */
}

</style>